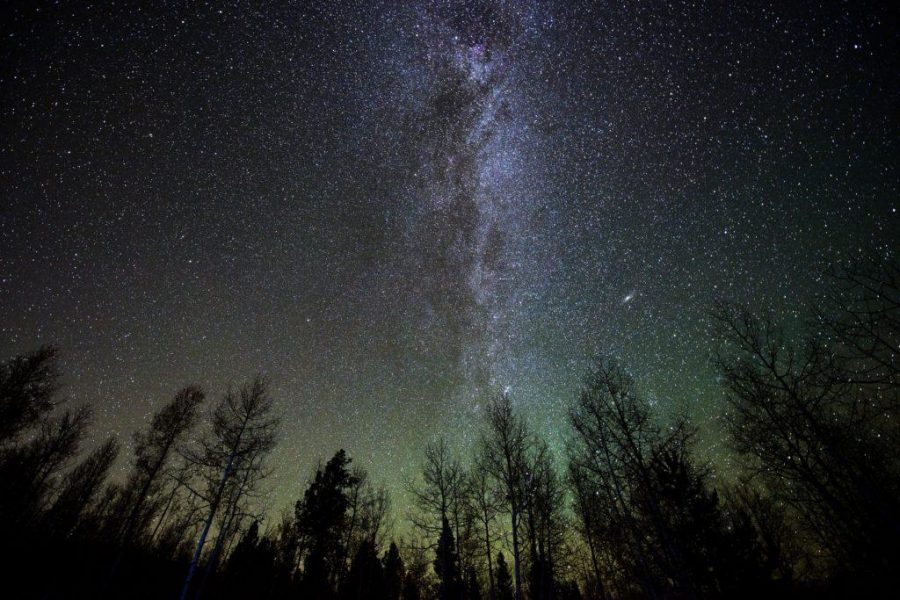
Have you ever wondered how to capture the night sky while camping? Photography harnesses light and stores the information on either film or a digital sensor, but when capturing images at night, you are missing the primary component — light. So listen up, if you want to capture that perfect Milky Way photo, you’ll need to know a few of the basics of photography — ISO, shutter speed, and aperture.
ISO: The electrical sensitivity of the digital sensor.
Shutter speed: The amount of time the camera has the shutter up to allow light to expose the image sensor.
Aperture: The size of the opening in the lens to allow light to expose the image sensor. The aperture is usually referred to as f/number, or the ratio of the focal length to the diameter of the pupil which allows light through the lens.
Capture those unforgettable moments during your night adventures with these steps:
Step One: Increase the ISO (film equivalent to speed) so less light exposes the image.
Step Two: Decrease the shutter speed to allow as much light as you need to properly expose the image.
Step Three: Lower the f/number (f/1.4, f/2.8, f/5.6) to allow the amount of light entering the lens to increase. Warning: when you decrease the shutter speed, you’ll need to ensure that the camera “shake” does not drown out the subject matter of your photograph. Use a tripod and an intervalometer to stabilize the camera while decreasing the shutter speed more than the typical 30-second timer. The use of a tripod will mitigate vibrations for extended periods of time, like when you are imaging stars at night.
When you have your camera on a tripod or on stable ground, first increase the ISO to a high number that doesn’t introduce electrical noise — this will typically be the highest ISO before you reach Hi 1 and Hi 2. The higher the number, the more false noise (rainbow colored specks) in your image. Next, change the focus to manual on your lens. Because it is near impossible to focus on an object in the dark, have someone point a flashlight on the object that you want to be in focus and manually adjust the lens until you’ve focused your object. Lower the f/number on your lens to the lowest number to allow as much light as possible expose the image sensor. Last, decrease the shutter speed to allow the desired amount of light expose the image. Pay attention to the exposure meter to see if your image is over or under exposed and adjust the settings accordingly until you get the perfect shot.
Here are your basic camera settings for capturing the heavens above: ISO 3200, f/2.8, 30-second exposure*, 14 mm focal length, manual focus, tripod to stabilize the camera. Have fun! Write down the settings you use and see what works and what you need to change.
AVOID STAR BLUR:
If using a full-frame camera (35 mm digital sensor), divide 500 by the focal length to find the best exposure time.
Exposure time [sec]≈500/(focal length [mm])
If using an APS-C camera (24 mm digital sensor), divide 500 by your camera’s crop factor and focal length to find the exposure time.
Exposure time [sec]≈500/(Crop factor)*(focal length [mm])
Photo by Kiffer Creveling


