It’s winter time again in Utah — snow has covered the mountain peaks, the mornings start with a skiff of snow on cars, and the air is quiet. This all means one thing: it’s time to hit the slopes.
Because winter sport equipment is so expensive, it would be illogical to purchase new gear each season, so it’s important to maintain the integrity of your boards. Here’s a step-by-step guide on how to wax your skis or snowboard and keep them ready to ride any time.
Step 1—Start by identifying where rocks have encountered the base of your boards. Such encounters range from minor scratches that are barely visible to major scratches that have actually removed part of the base layer. Don’t worry yet, though, because all of these can be fixed.
Step 2—Use a coarse-cut file to grind out the flaws in the metal edges. This will help sharpen and keep your skis or board gripping the snow even on the iciest of conditions. Place the file at a 45-degree angle from the board’s base and move it repeatedly from tip to tail. Repeat the motion at only an arm’s length to allow adequate pressure to grind away at the flaws in the metal edges. To sharpen the edges perpendicular to the base you’ll need to orient the board on the side and repeat the use of the file. After the metal edges have been ground down, you’ll know when it is sharp enough by brushing your finger on the edge — if some of your fingernail remains, it is sharp and ready to wax.
Step 3—Before you wax the base, you’ll need to fix any core shots or deep grooves on your skis or board. To fix the gouges, get a stick of P-tex plastic that matches the color of your base (generally either black or clear). Get a lighter and catch the end of the P-tex stick on fire. Hold the P-tex stick with the flaming end about an eighth of an inch above the defect. The melted P-tex will heat up the defect and will drip in to fill the void. Once it dries you can blow out the burning end of the P-tex and use a metal scraper to remove any excess.
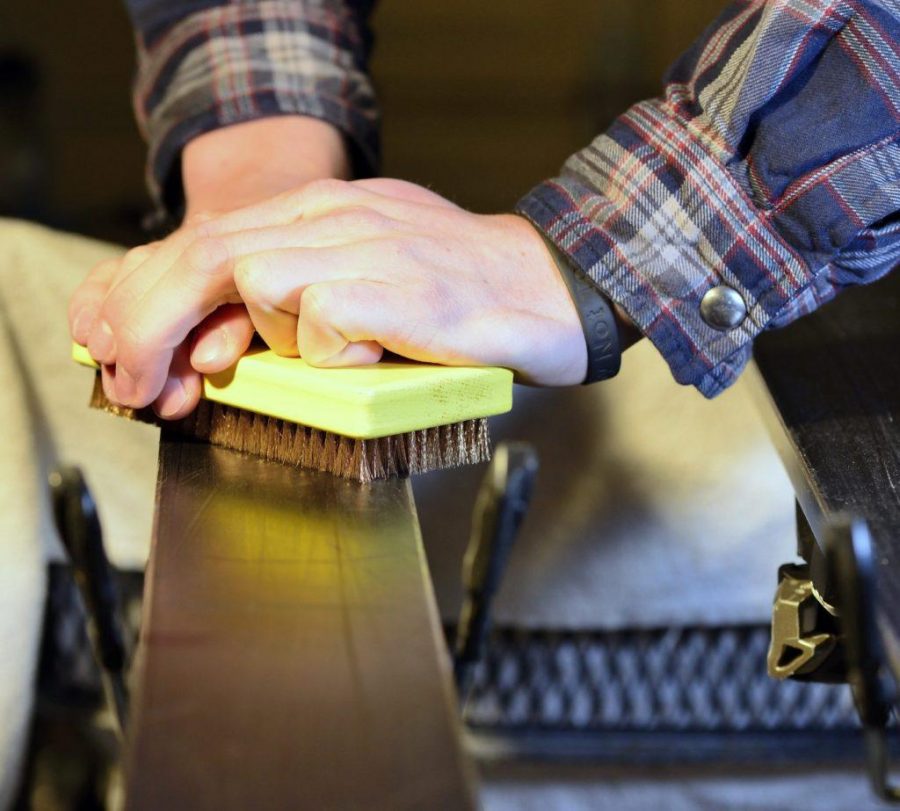
Step 4—Using a brass or metal brush, you’ll want to first remove any built-up wax from last season. Do so by brushing from tip to tail and pressing firmly down to allow the bristles of the brush to remove the wax. Repeat until the brush doesn’t remove any wax from the base. After this, you’ll repeat the same step using a nylon brush.
Step 5—Press your desired temperature glide wax into a ski iron, allowing the hot surface to melt the wax while dripping onto the board. Move the iron and wax quickly over the base of the ski to allow for adequate coverage of the melted wax. After the wax has cooled on the board, press the iron flat on the base and allow the wax to completely melt. Once it has melted, slowly move the iron from tip to tail to smooth out the wax on the base. Do this three times, each time moving more quickly from tip to tail. Be sure not to hold the iron in the same place for too long because you can damage the internal structure of the skis or board.
Step 6—Using the plastic scraper, scrape the excess wax off of the bottom of your ski or board. Do so by angling the scraper at a 45-degree angle from the base and pressing firmly while moving from top to bottom.
Step 7—Using the nylon brush, remove the excess wax that wasn’t removed from scraping by brushing. Again, move from tail to tip. Repeat a few times until you don’t see any more wax being brushed away. Next, using a fine horse hair brush, repeat the same step. Once that is complete, you’ll be ready to go back on the slopes with ultra-sharp edges and a silky smooth base.


